
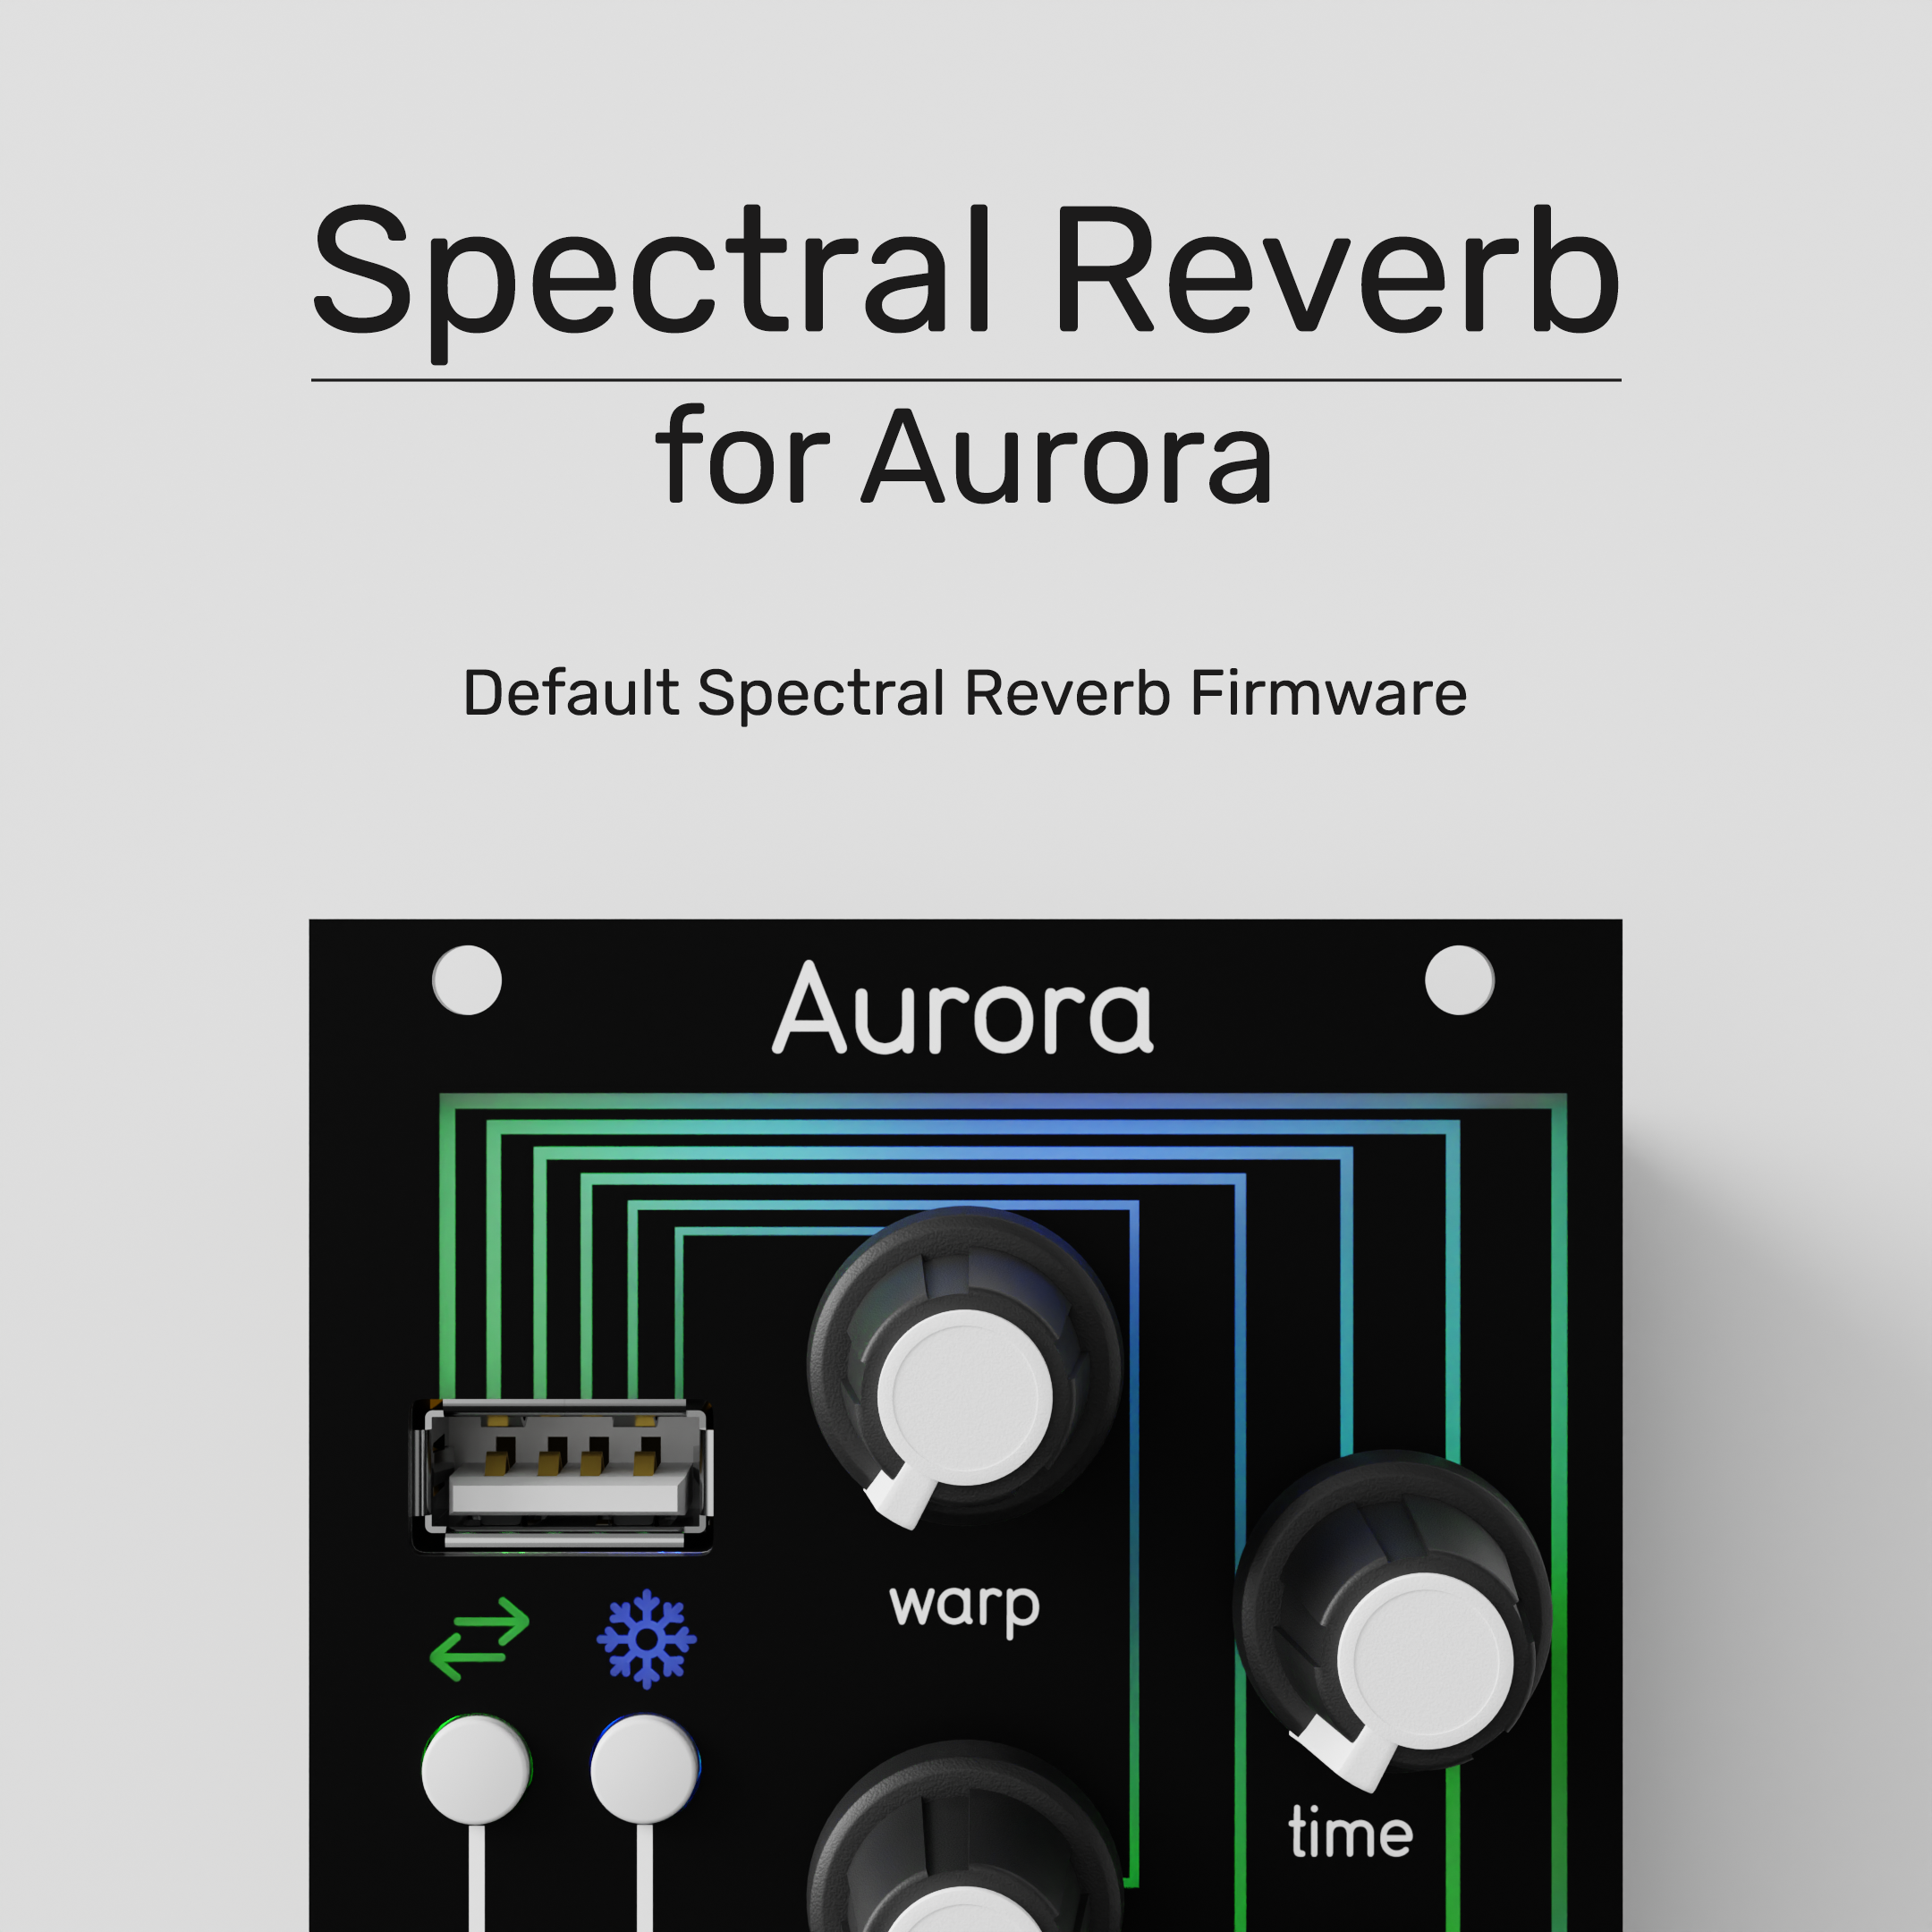
The standard Aurora spectral reverb, firmware version 1.4.4.
How to install Spectral Reverb on your Aurora:
Download the above .bin file onto your computer.
Insert the USB Drive you are using with Aurora into your computer.
Place the .bin file onto the USB drive. To ensure that you upload the correct firmware, make sure that it is the only .bin file present on your drive.
Safely eject the USB drive from your computer, and reinsert it into your Aurora.
Power cycle Aurora. Aurora will now update to the Spectral Reverb Firmware. The update will be complete once the LEDs shine blue and green (purple and green if you are off an octave).
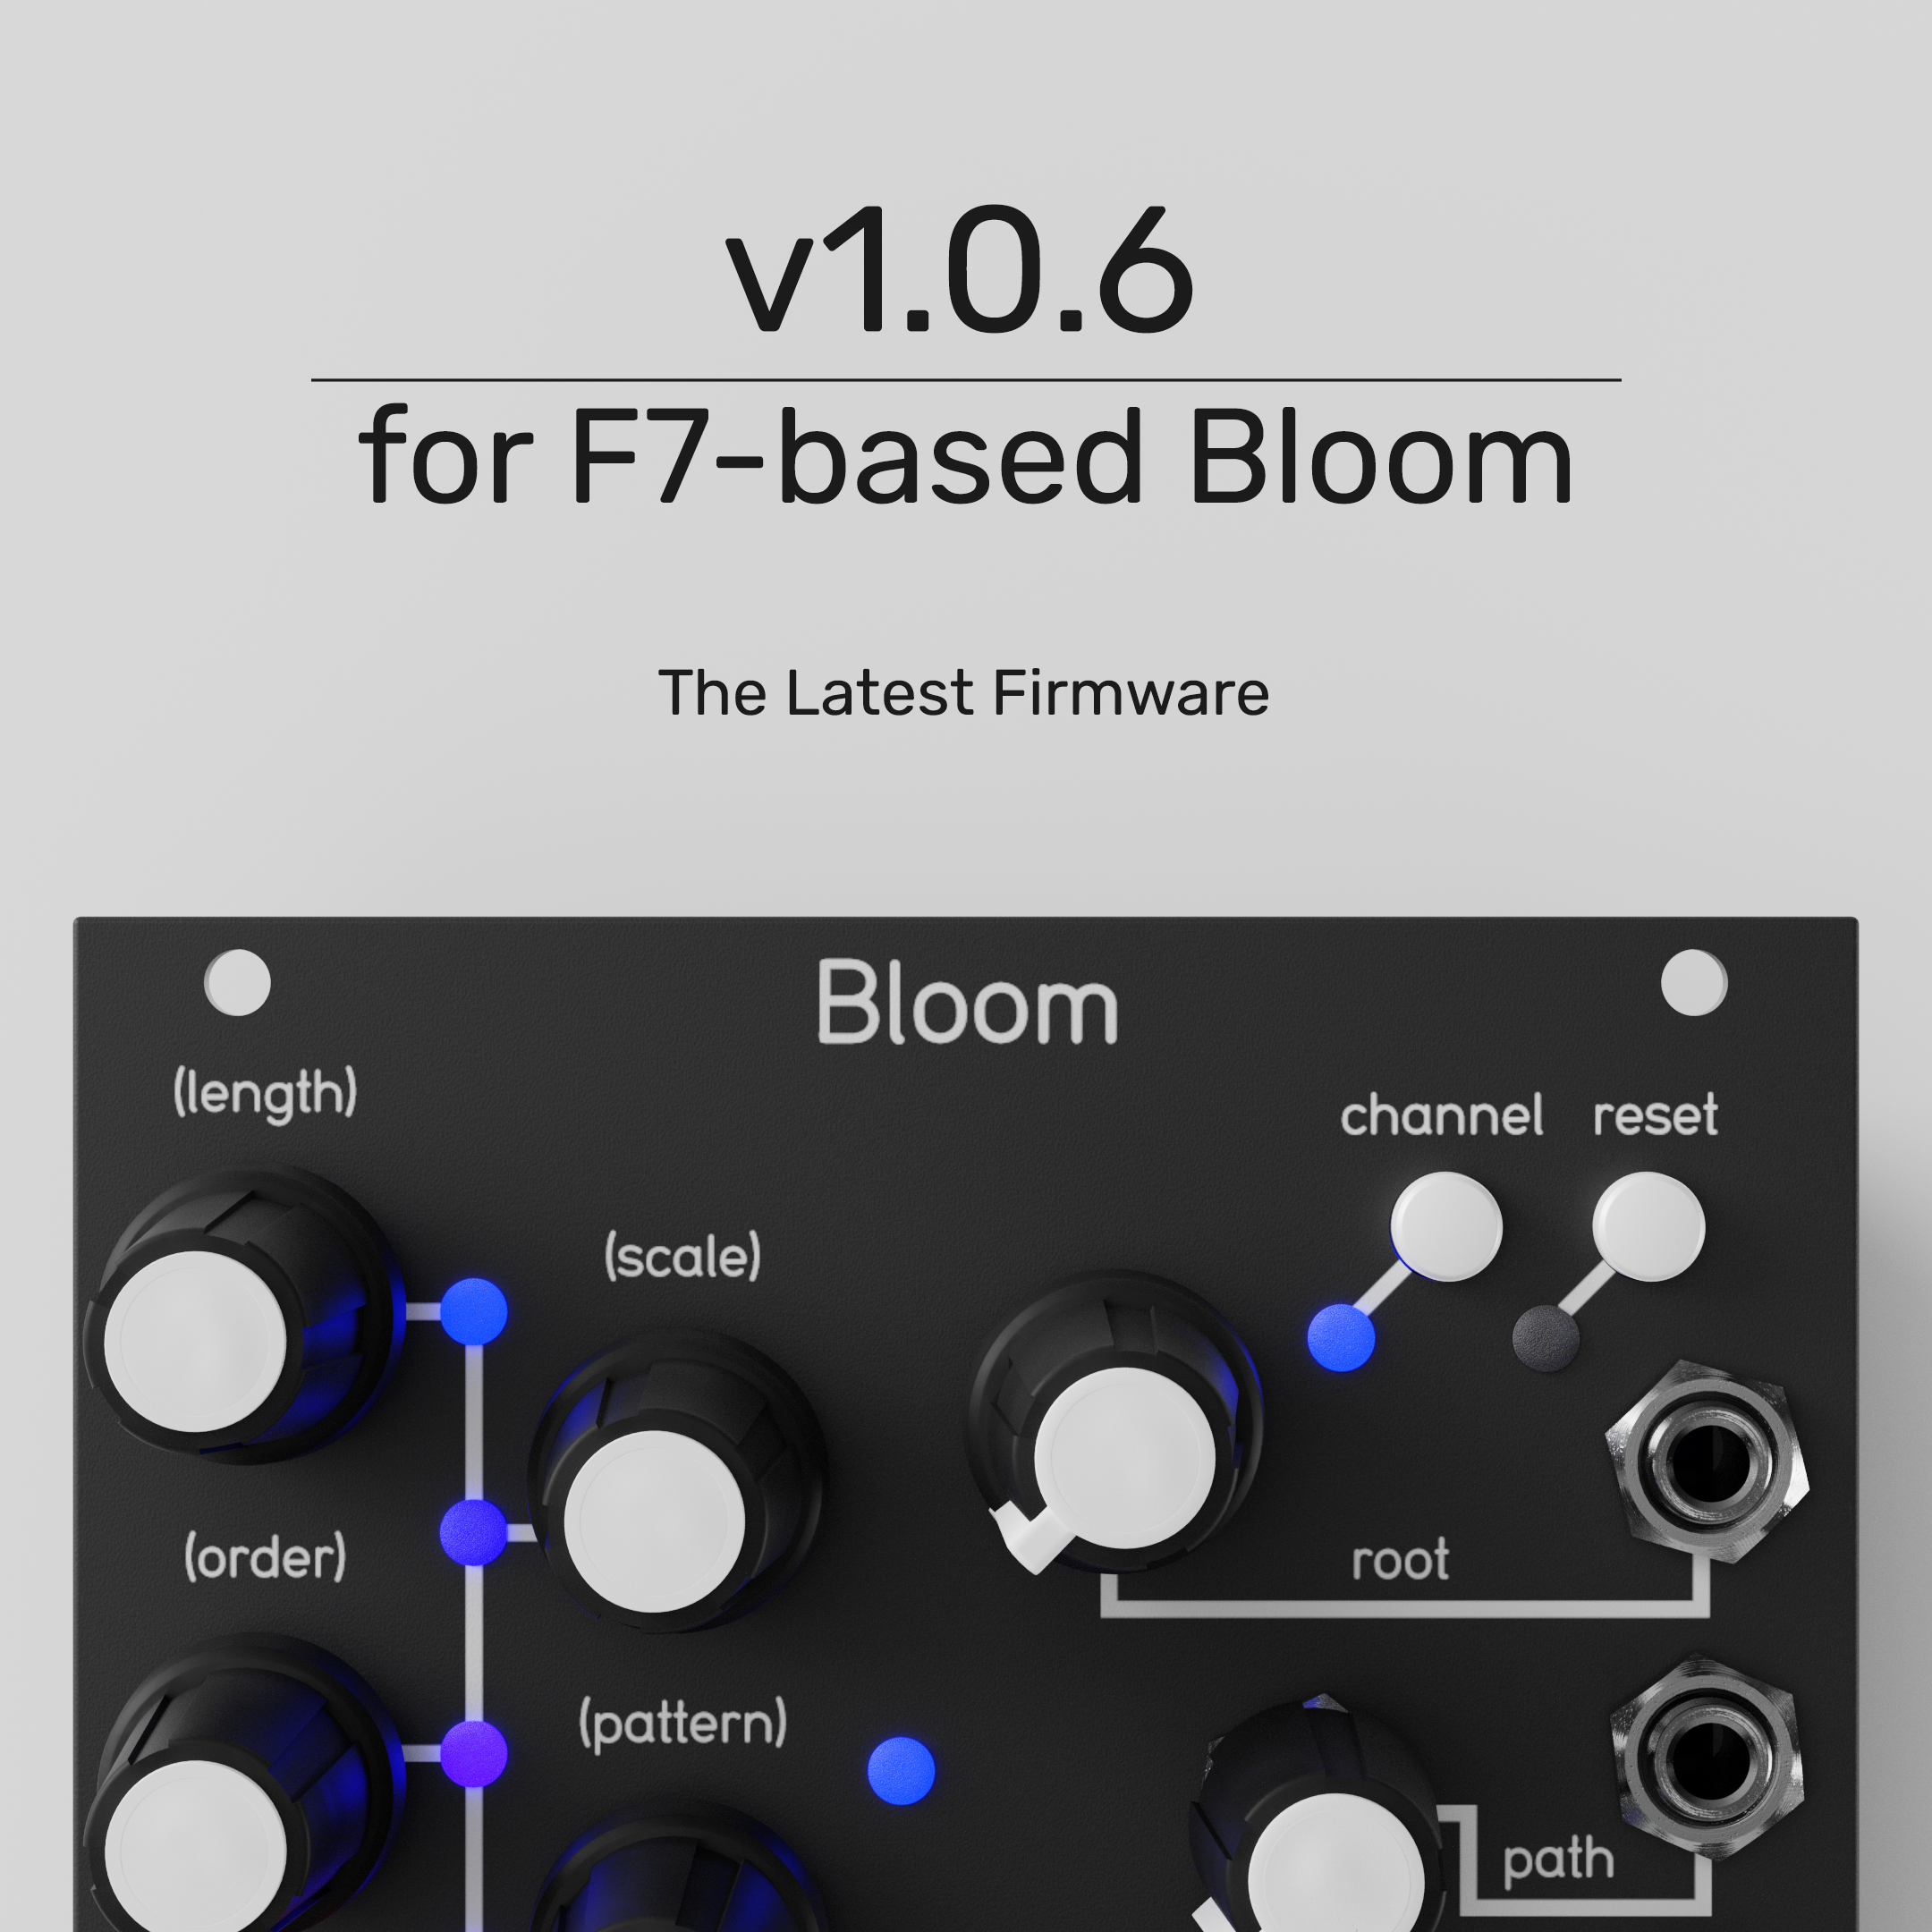
This is the current production firmware for F7-based Blooms.
Which Bloom do I have?
Steps to Flash:
Make sure that the only sounds being outputted from your device will beplayback of the firmware audio file. This can easily be accomplished on asmartphone by putting your device into airplane mode. On a computer,make sure that any alerts or notifications are silenced.
Load the firmware update audio file onto your device.
Connect the output of your audio device into the Clock Rate CV input of theBloom.
Power on the Bloom while holding down the Reset button. The LEDs willbegin to blink blue to indicate that it is waiting for a firmware update.
Start playing the firmware update audio file into the Bloom. Once theBloom starts updating, the LEDs will flash green indicating that it is updating. A successful update will change the LEDs to white, Green, and briefly back to white before beginning normal operation of the module on the new firmware.
See the README file in the downloaded zip folder for more detailed instruction!

This is the current production firmware for Daisy-based Blooms. It behaves the exact same as F7-based Blooms.
Steps to Flash:
Plug the microUSB port on the back of Bloom into a computer.
Head to the Daisy Web Programmer in a Google Chrome browser.
Hold the BOOT button on the back of Bloom, tap the RESET button, then release the BOOT button.
Click the “Connect” button at the top of the web programmer. Then, in the pop-up window, connect the “DFU in FS Mode” port.
Drag and drop the “QB_Bloom_v2_0_16.bin” file onto the “Choose or drop a file…” text.
Press the “Program” button. Your update will be flashed to Bloom.
Once, the programming progress bar is complete, unplug the Bloom from the computer, reinstall it in your eurorack system, and boot up. Your Bloom is now on the most current firmware!

Bloom v2 v1.1.1 addresses a quick fix for the chromatic scale quantization.
How To Update:
Download the .bin firmware file above.
Place the .bin file onto Bloom v2’s USB drive (MacOS users: do not unzip the .bin file, simply place it onto the USB drive).
Eject the USB drive, and place it back into Bloom v2.
If Bloom v2 is off, boot up the module to automatically begin the firmware update.
If Bloom v2 is on, hold the Shift, Reseed, and Reset buttons for 3 seconds to initiate the firmware update. The module will update without needing to power cycle.
Changelog:
fixed issue with Chromatic Scale missing a note in the range.
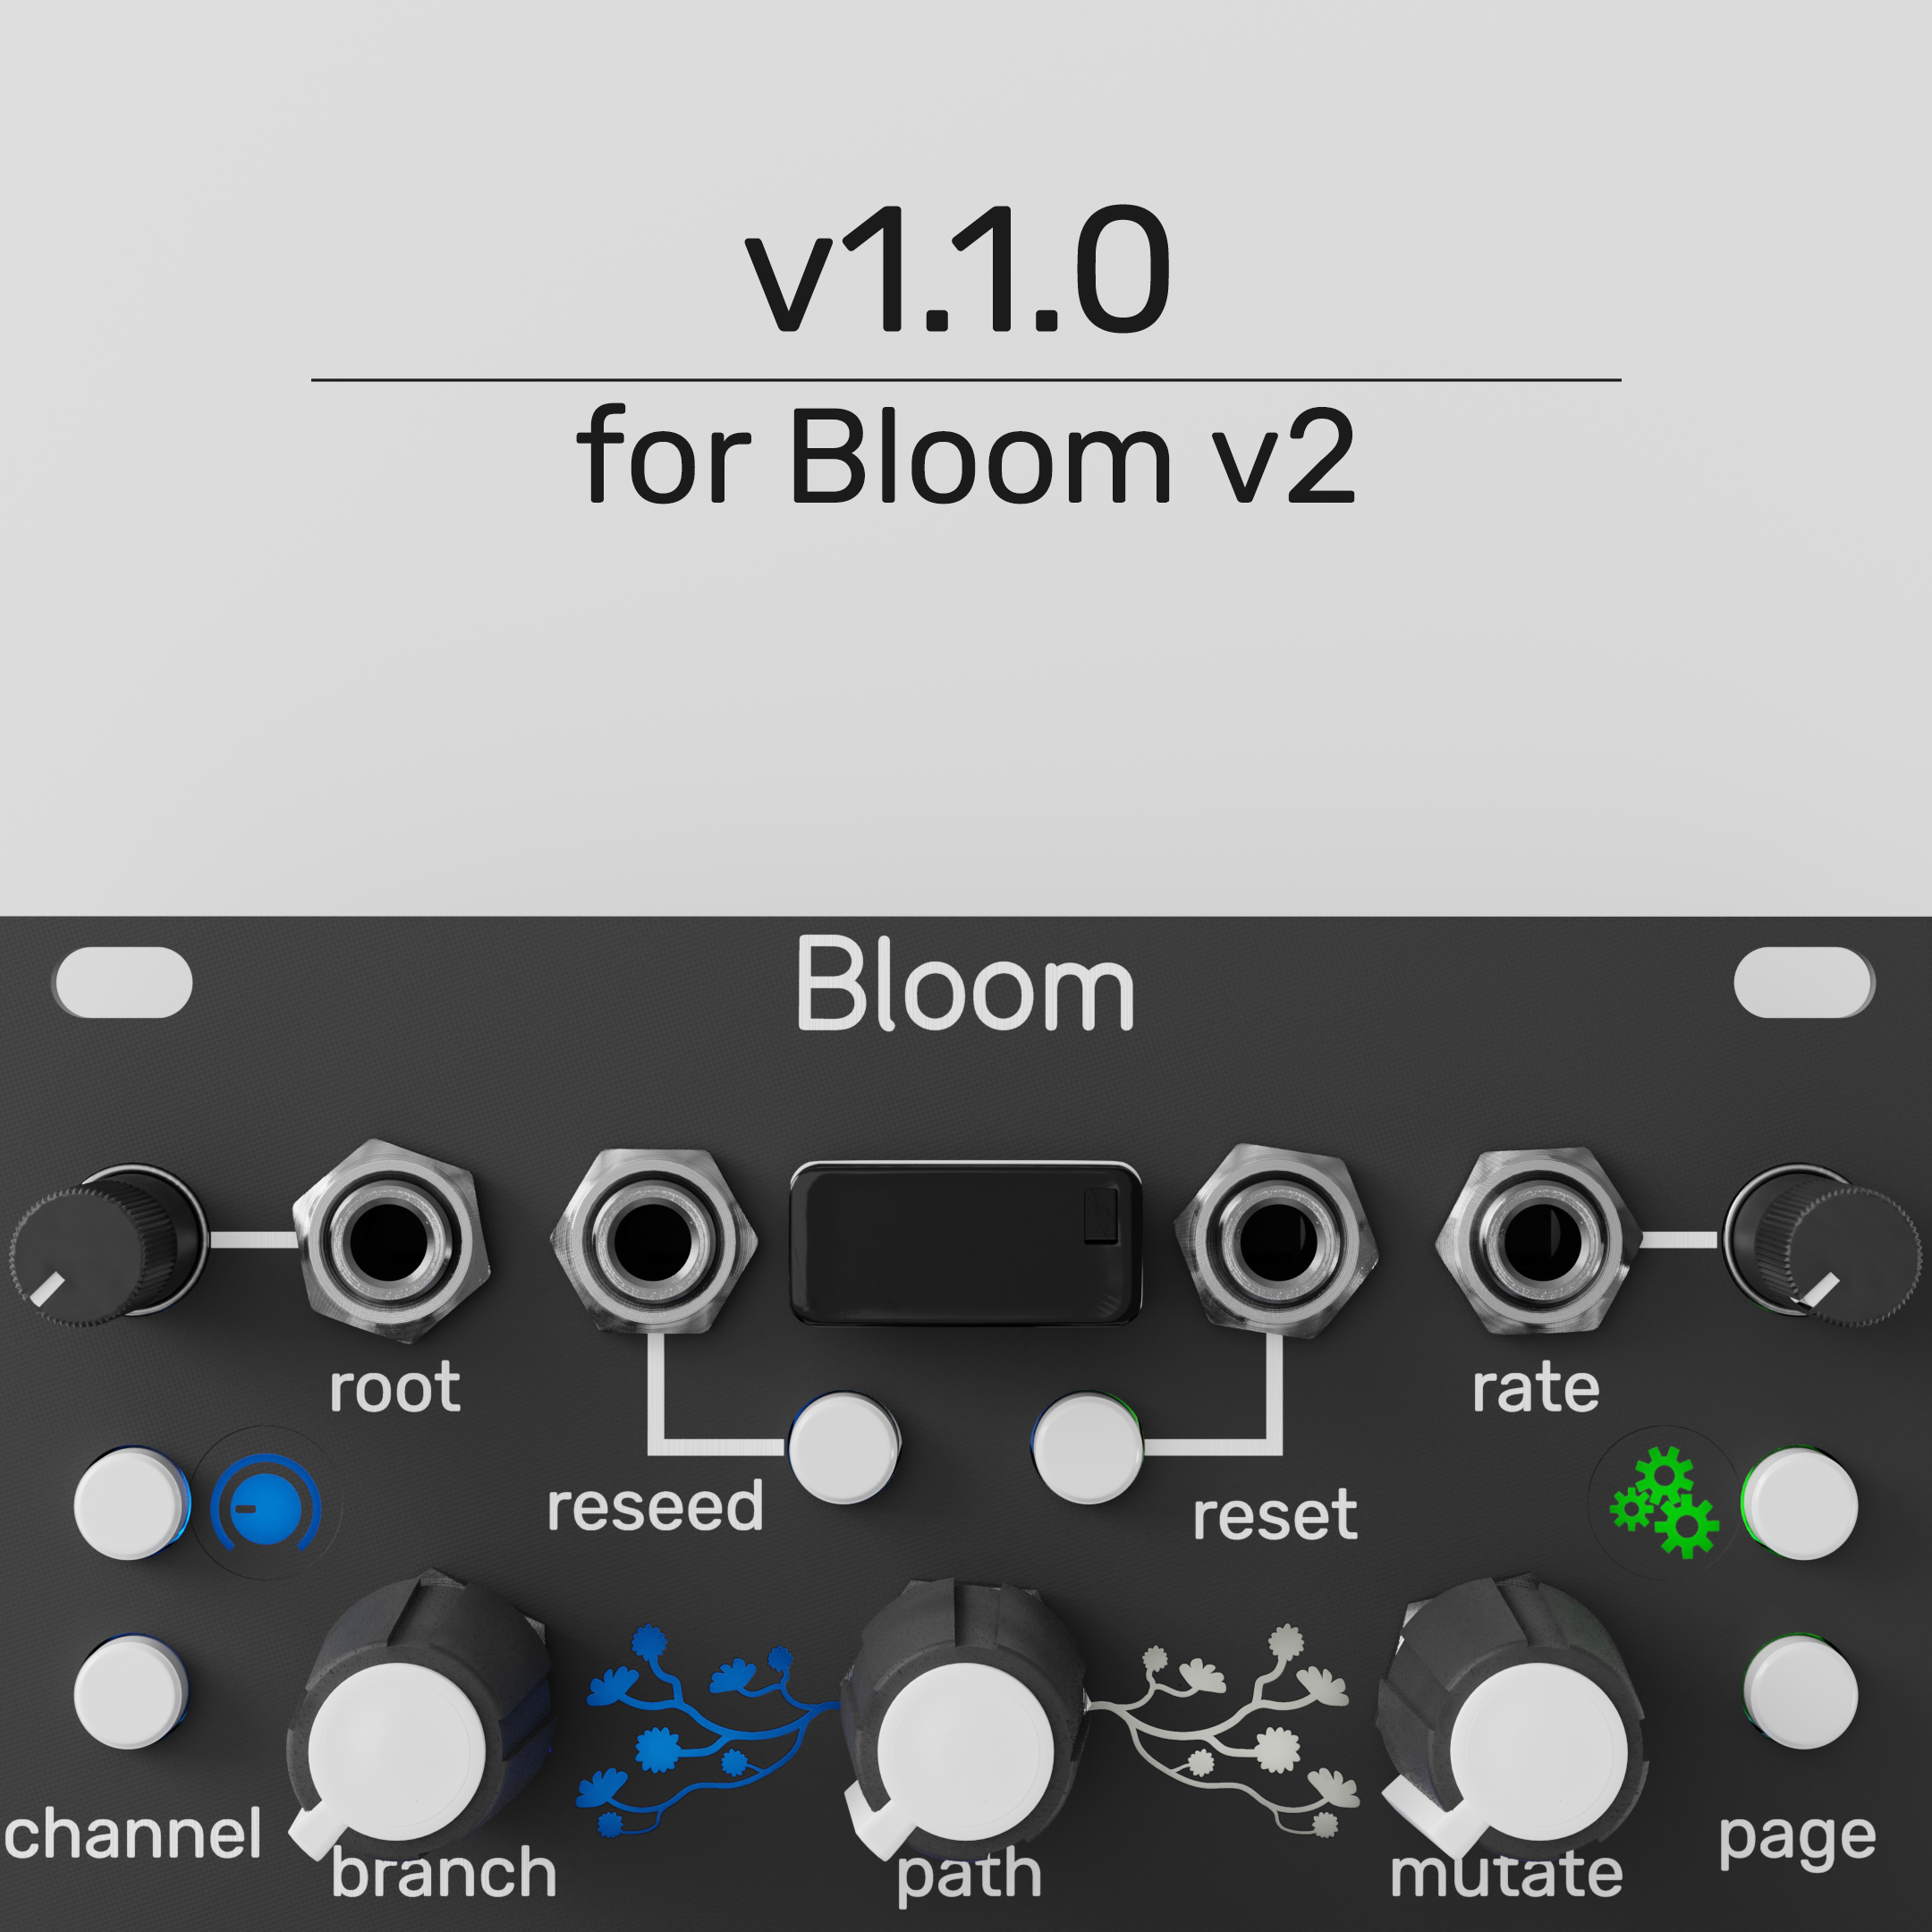
Bloom v2 v1.1.0 is a “day 1” firmware update for our fractal sequencer. It includes some polishing of existing features, as well as adds a new Branch Regeneration Filter to Narwhal.
How To Update:
Download the .bin firmware file above.
Place the .bin file onto Bloom v2’s USB drive (MacOS users: do not unzip the .bin file, simply place it onto the USB drive).
Eject the USB drive, and place it back into Bloom v2.
If Bloom v2 is off, boot up the module to automatically begin the firmware update.
If Bloom v2 is on, hold the Shift, Reseed, and Reset buttons for 3 seconds to initiate the firmware update. The module will update without needing to power cycle.
Changelog:
fixed issue with the Page Increment Narwhal setting options were opposite of their functions
added “Regenerate Branches Filter” to Narwhal settings (this setting only works with v1.1.0 or later)
various UX and UI polishes


Introducing Cascade’s first custom firmware, Glacier. Designed for renowned modular artist, R Beny, Glacier is quite similar to the default firmware, but with a small twist. The Invert button in Glacier is converted into a “Freeze” button, letting Cascade freeze the envelope at any moment within the cycle.
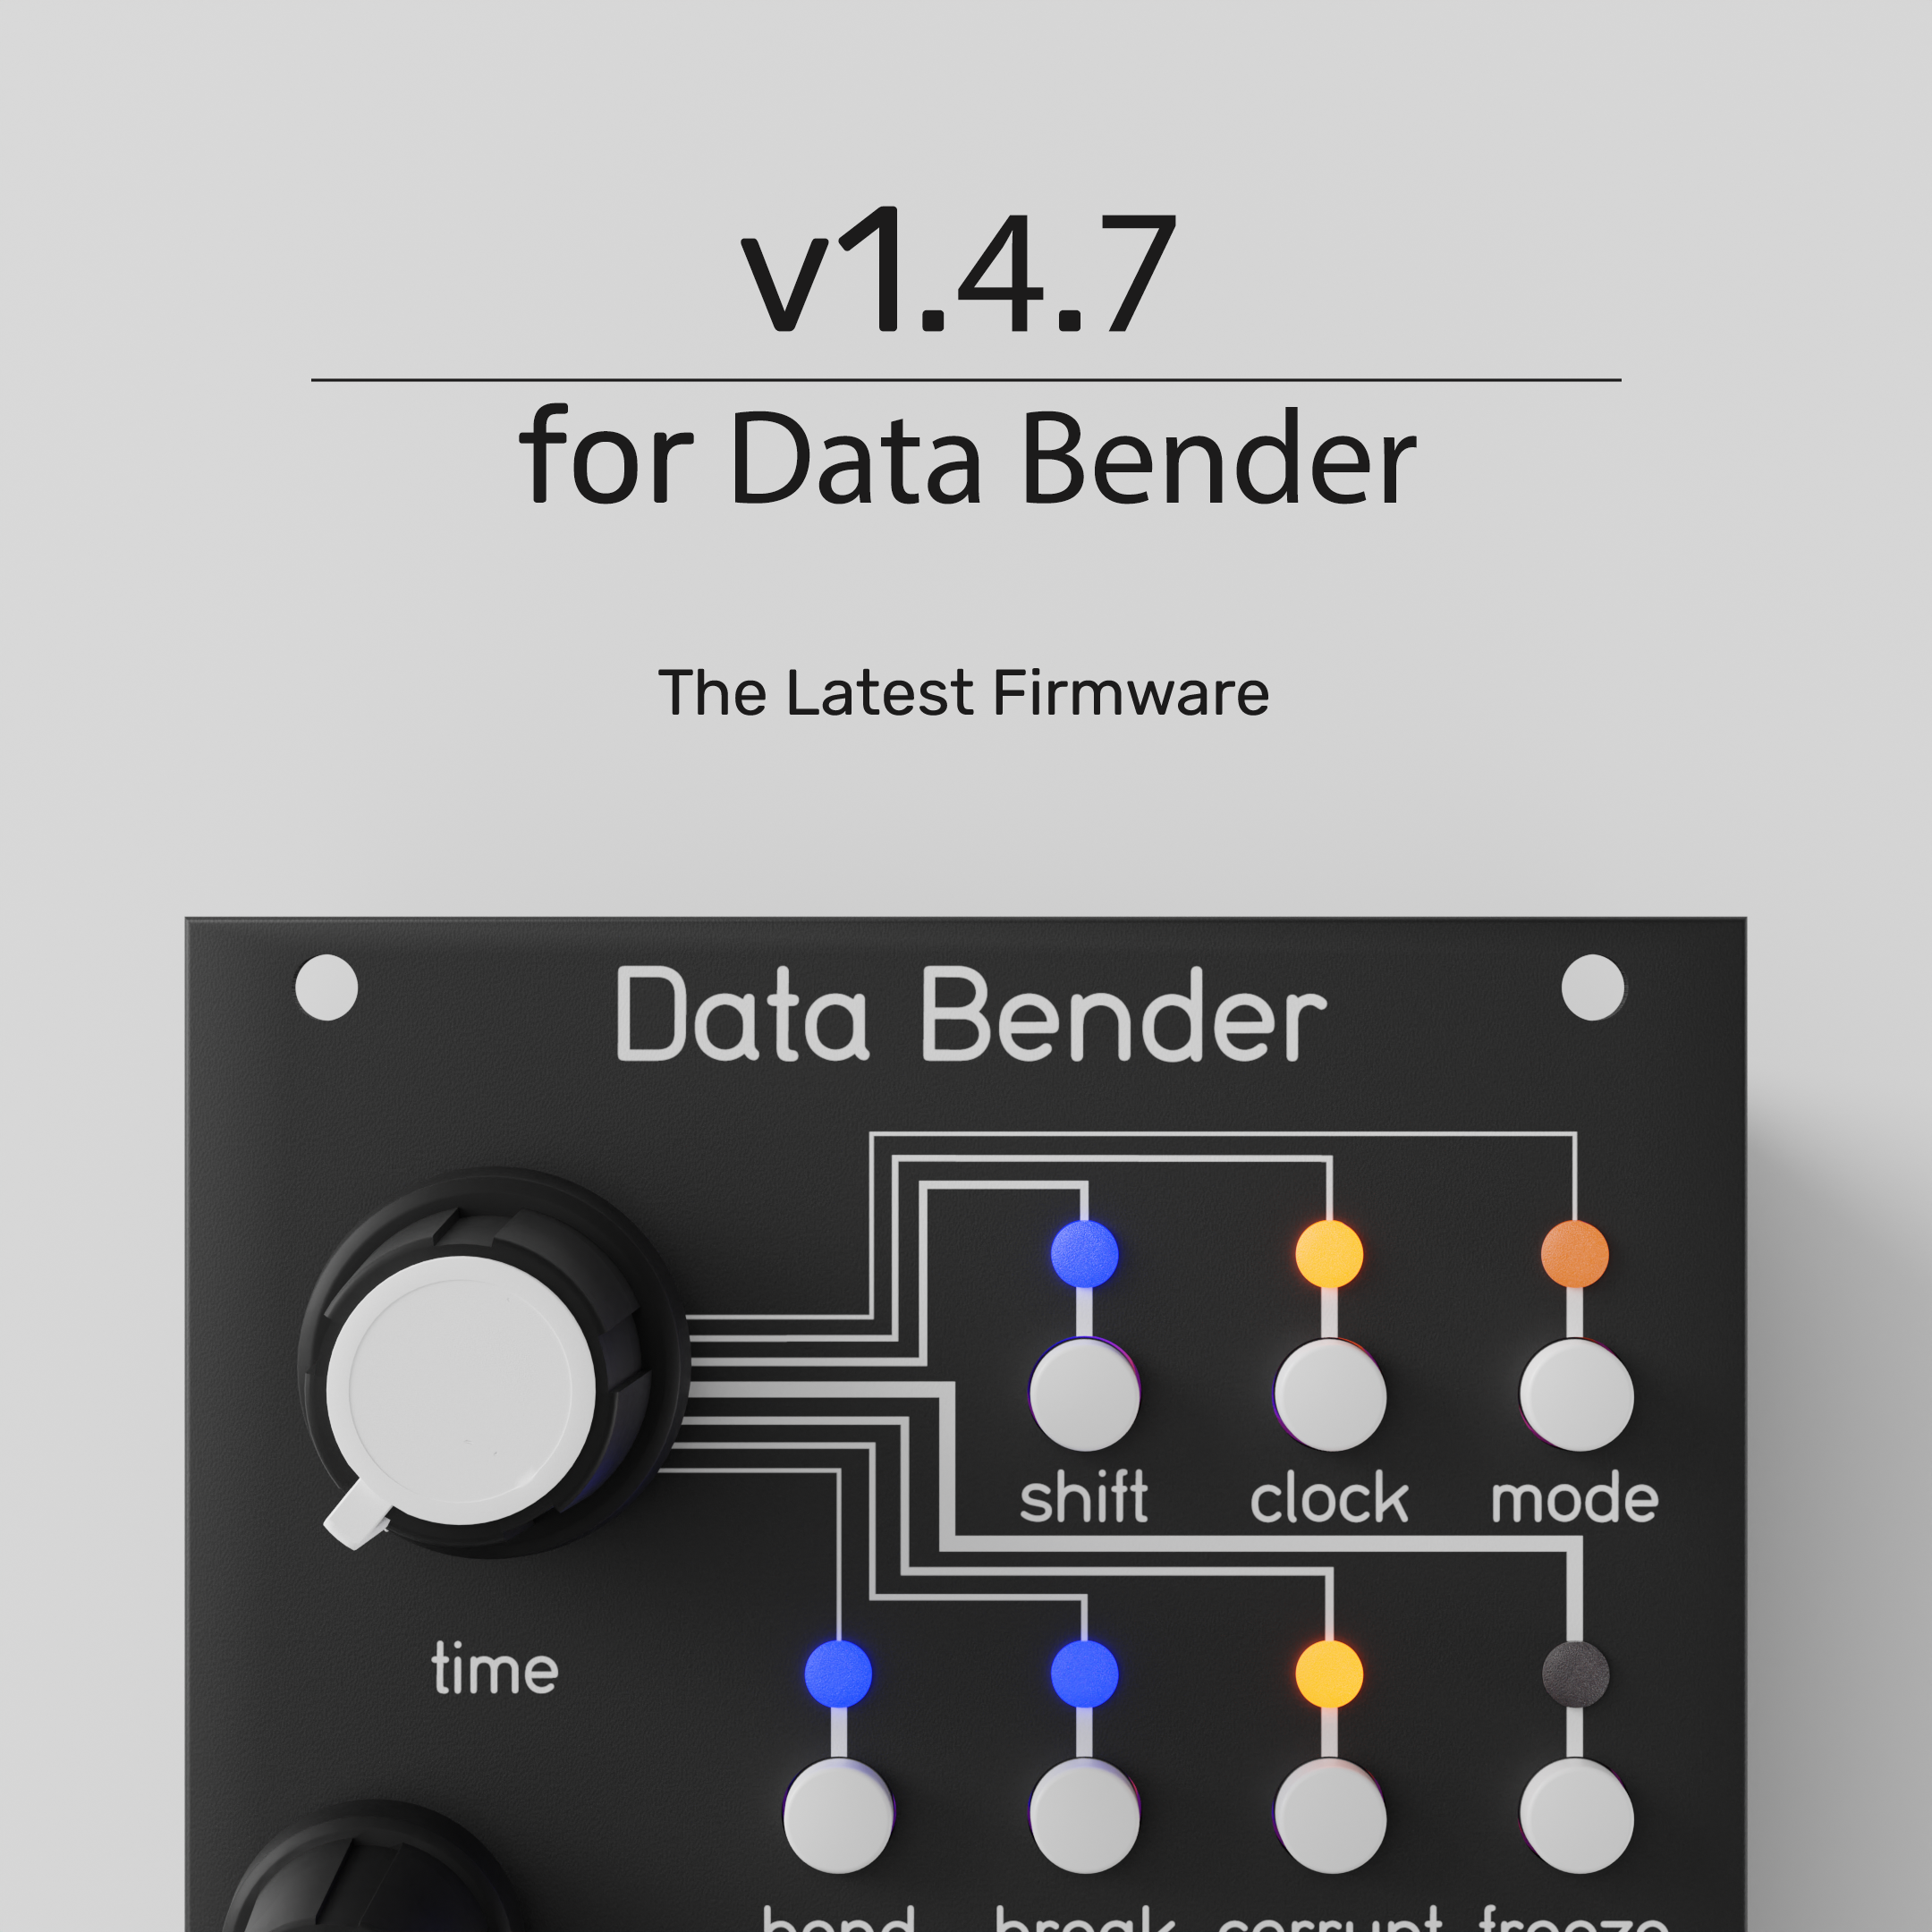
This is a minor update which resolves an audio filtering issue with Rev 5 hardware units.
v1.4.7 Changelog:
turned off software filter setting on Rev5 hardware units.

This is the original release firmware for Data Bender, which excludes all the updates found in v1.4.4.

This is the release firmware for Nautilus, firmware version 1.1.0.
How to install the firmware on your Nautilus:
Download the above .bin file onto your computer.
Insert the USB Drive you are using with Nautilus into your computer.
Place the .bin file onto the USB drive. To ensure that you upload the correct firmware, make sure that it is the only .bin file present on your drive.
Safely eject the USB drive from your computer, and reinsert it into your Nautilus.
Power cycle Nautilus. Nautilus will now update to the new firmware. The update will be complete once the module enters normal operation.

The latest firmware for Nautilus, our stereo complex delay network, version 1.2.0. Includes a host of new features requested by the community, including mix curve options, a new reverb, new delay and signal modes, and more! Dive deeper into Nautilus with this new update.
v1.2.0 Changelog:
added mix curve options
added end of chain reverb
added freerunning delay time mode
added summed mono mode
added continuouse purge option
added LED dimmer control
added custom LED color options
How to install the firmware on your Nautilus:
Download the above .bin file onto your computer.
Insert the USB Drive you are using with Nautilus into your computer.
Place the .bin file onto the USB drive. To ensure that you upload the correct firmware, make sure that it is the only .bin file present on your drive.
Safely eject the USB drive from your computer, and reinsert it into your Nautilus.
Power cycle Nautilus. Nautilus will now update to the new firmware. The update will be complete once the module enters normal operation.

The current firmware for our live granular processor, Mojave.
v1.0.2 Changelog:
stability improvements for options.json files.
fixed issue with min/max range of fixed buffer time option being off by 1.
How to install the firmware on your Mojave:
Download the above .bin file onto your computer.
Insert the USB Drive you are using with Mojave into your computer.
Place the .bin file onto the USB drive. To ensure that you upload the correct firmware, make sure that it is the only .bin file present on your drive.
Safely eject the USB drive from your computer, and reinsert it into your Mojave.
Power cycle Mojave. Mojave will now update to the new firmware. The update will be complete once the module enters normal operation.

This is the disk image for Raspberry Pi 3 based Nebulae v2’s. Use this file to reformat the Nebulae v2 to the original Nebulae firmware.*
How to reformat the Nebulae v2
Pi 3 or Pi 4? Which version do I have?
*reflashing the disk image will require Nebulae’s v/oct input to be recalibrated.

This is the disk image for Raspberry Pi 4 based Nebulae v2’s. Use this file to reformat the Nebulae v2 to the original Nebulae firmware.*
How to reformat the Nebulae v2
Pi 3 or Pi 4? Which version do I have?
*reflashing the disk image will require Nebulae’s v/oct input to be recalibrated.

Created by Ian Hoogeboom, Avalon is a wavetable synth based on the WaveEdit banks. Included in the downloadable .zip file is a custom wavetable curated by Ian, as well as in-depth instructions on how to use the instrument.
Get The Quickstart Guide


Created by Christopher Konopka. Combed warp is a spectrally warped comb filter oscillator with reverb.


Created by Eli Pechman. Durm is a 4-voice drum machine where all the voices share the same parameters, but the individual voice interaction with the parameters can be altered.


Created by Collin Russell. FM synth that generates gritty waveforms with an extreme C:M ratio and modulation index.

Created by Jane Freiheit. 4 free-running oscillators with independent 1v/oct tracking.

Created by Collin Russell. Crust punk inspired morphing noise source with distortion.

Created by Christopher Konopka. An implementation of a dynamic stochastic approach to waveform synthesis originally conceived by Iannis Xenakis.
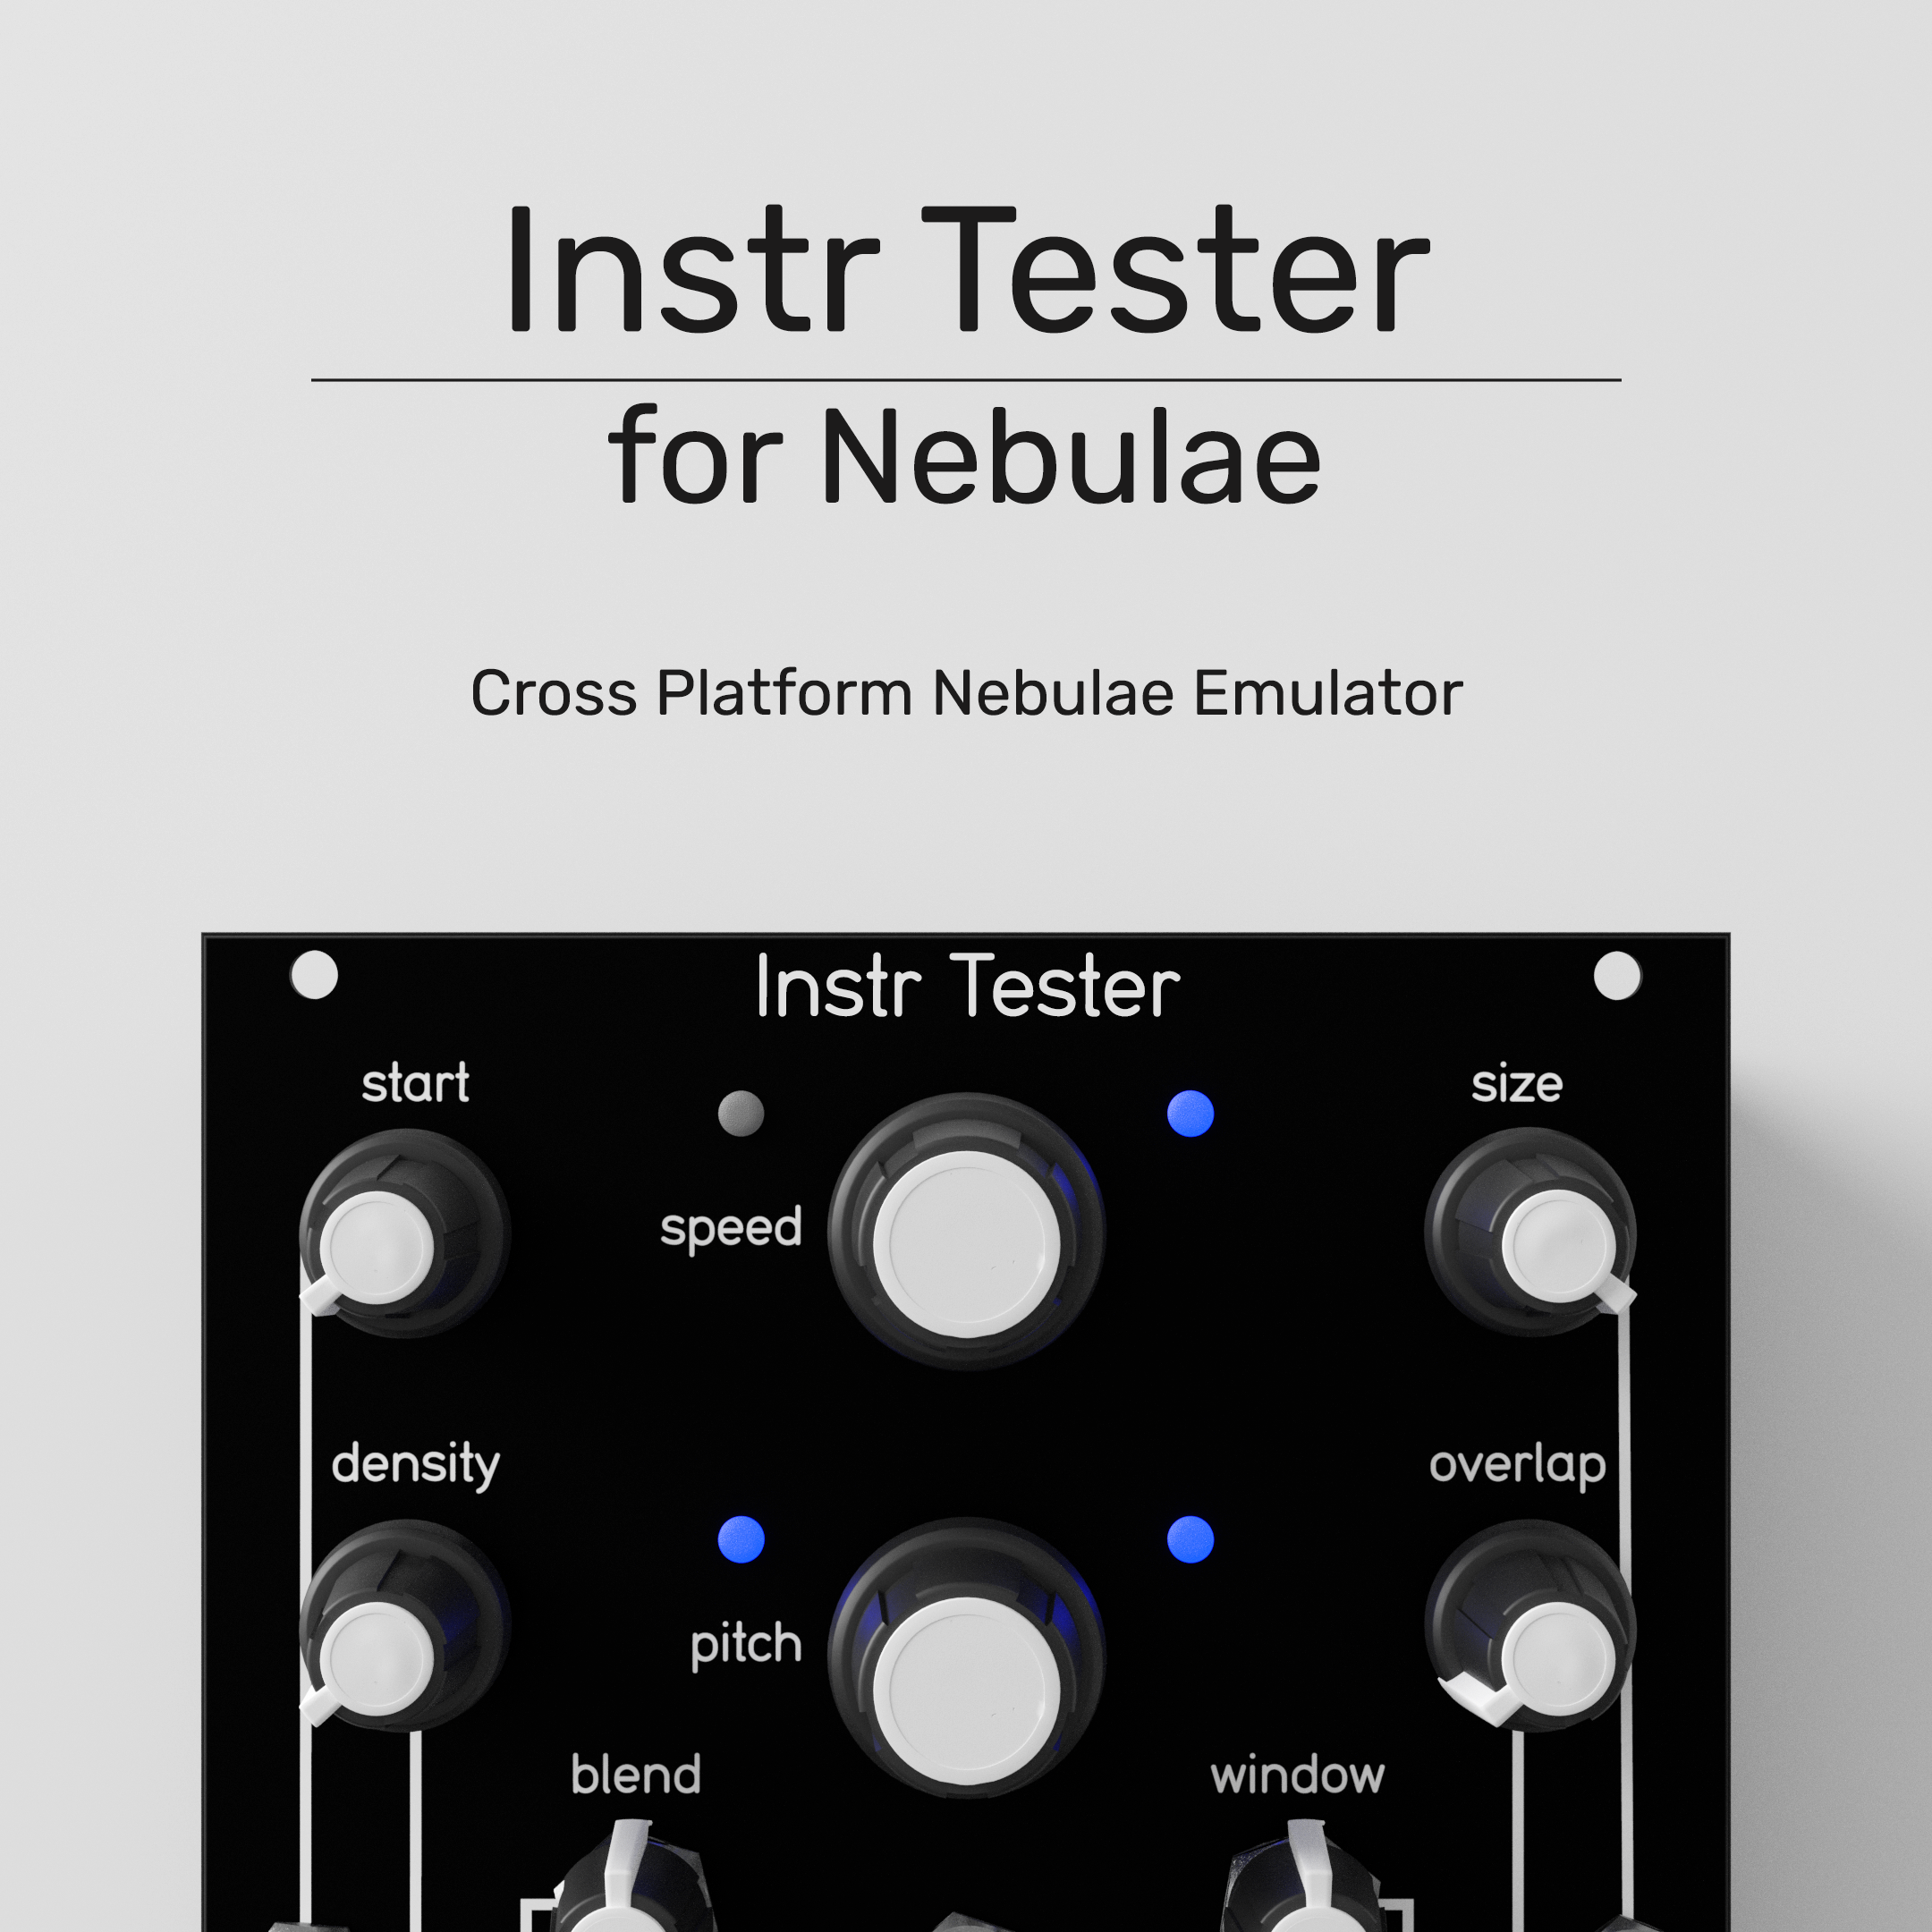
Instrument Tester for Nebulae v2. PDF instructions include inside the .zip folder.
Download The Instrument (v1.5.1)
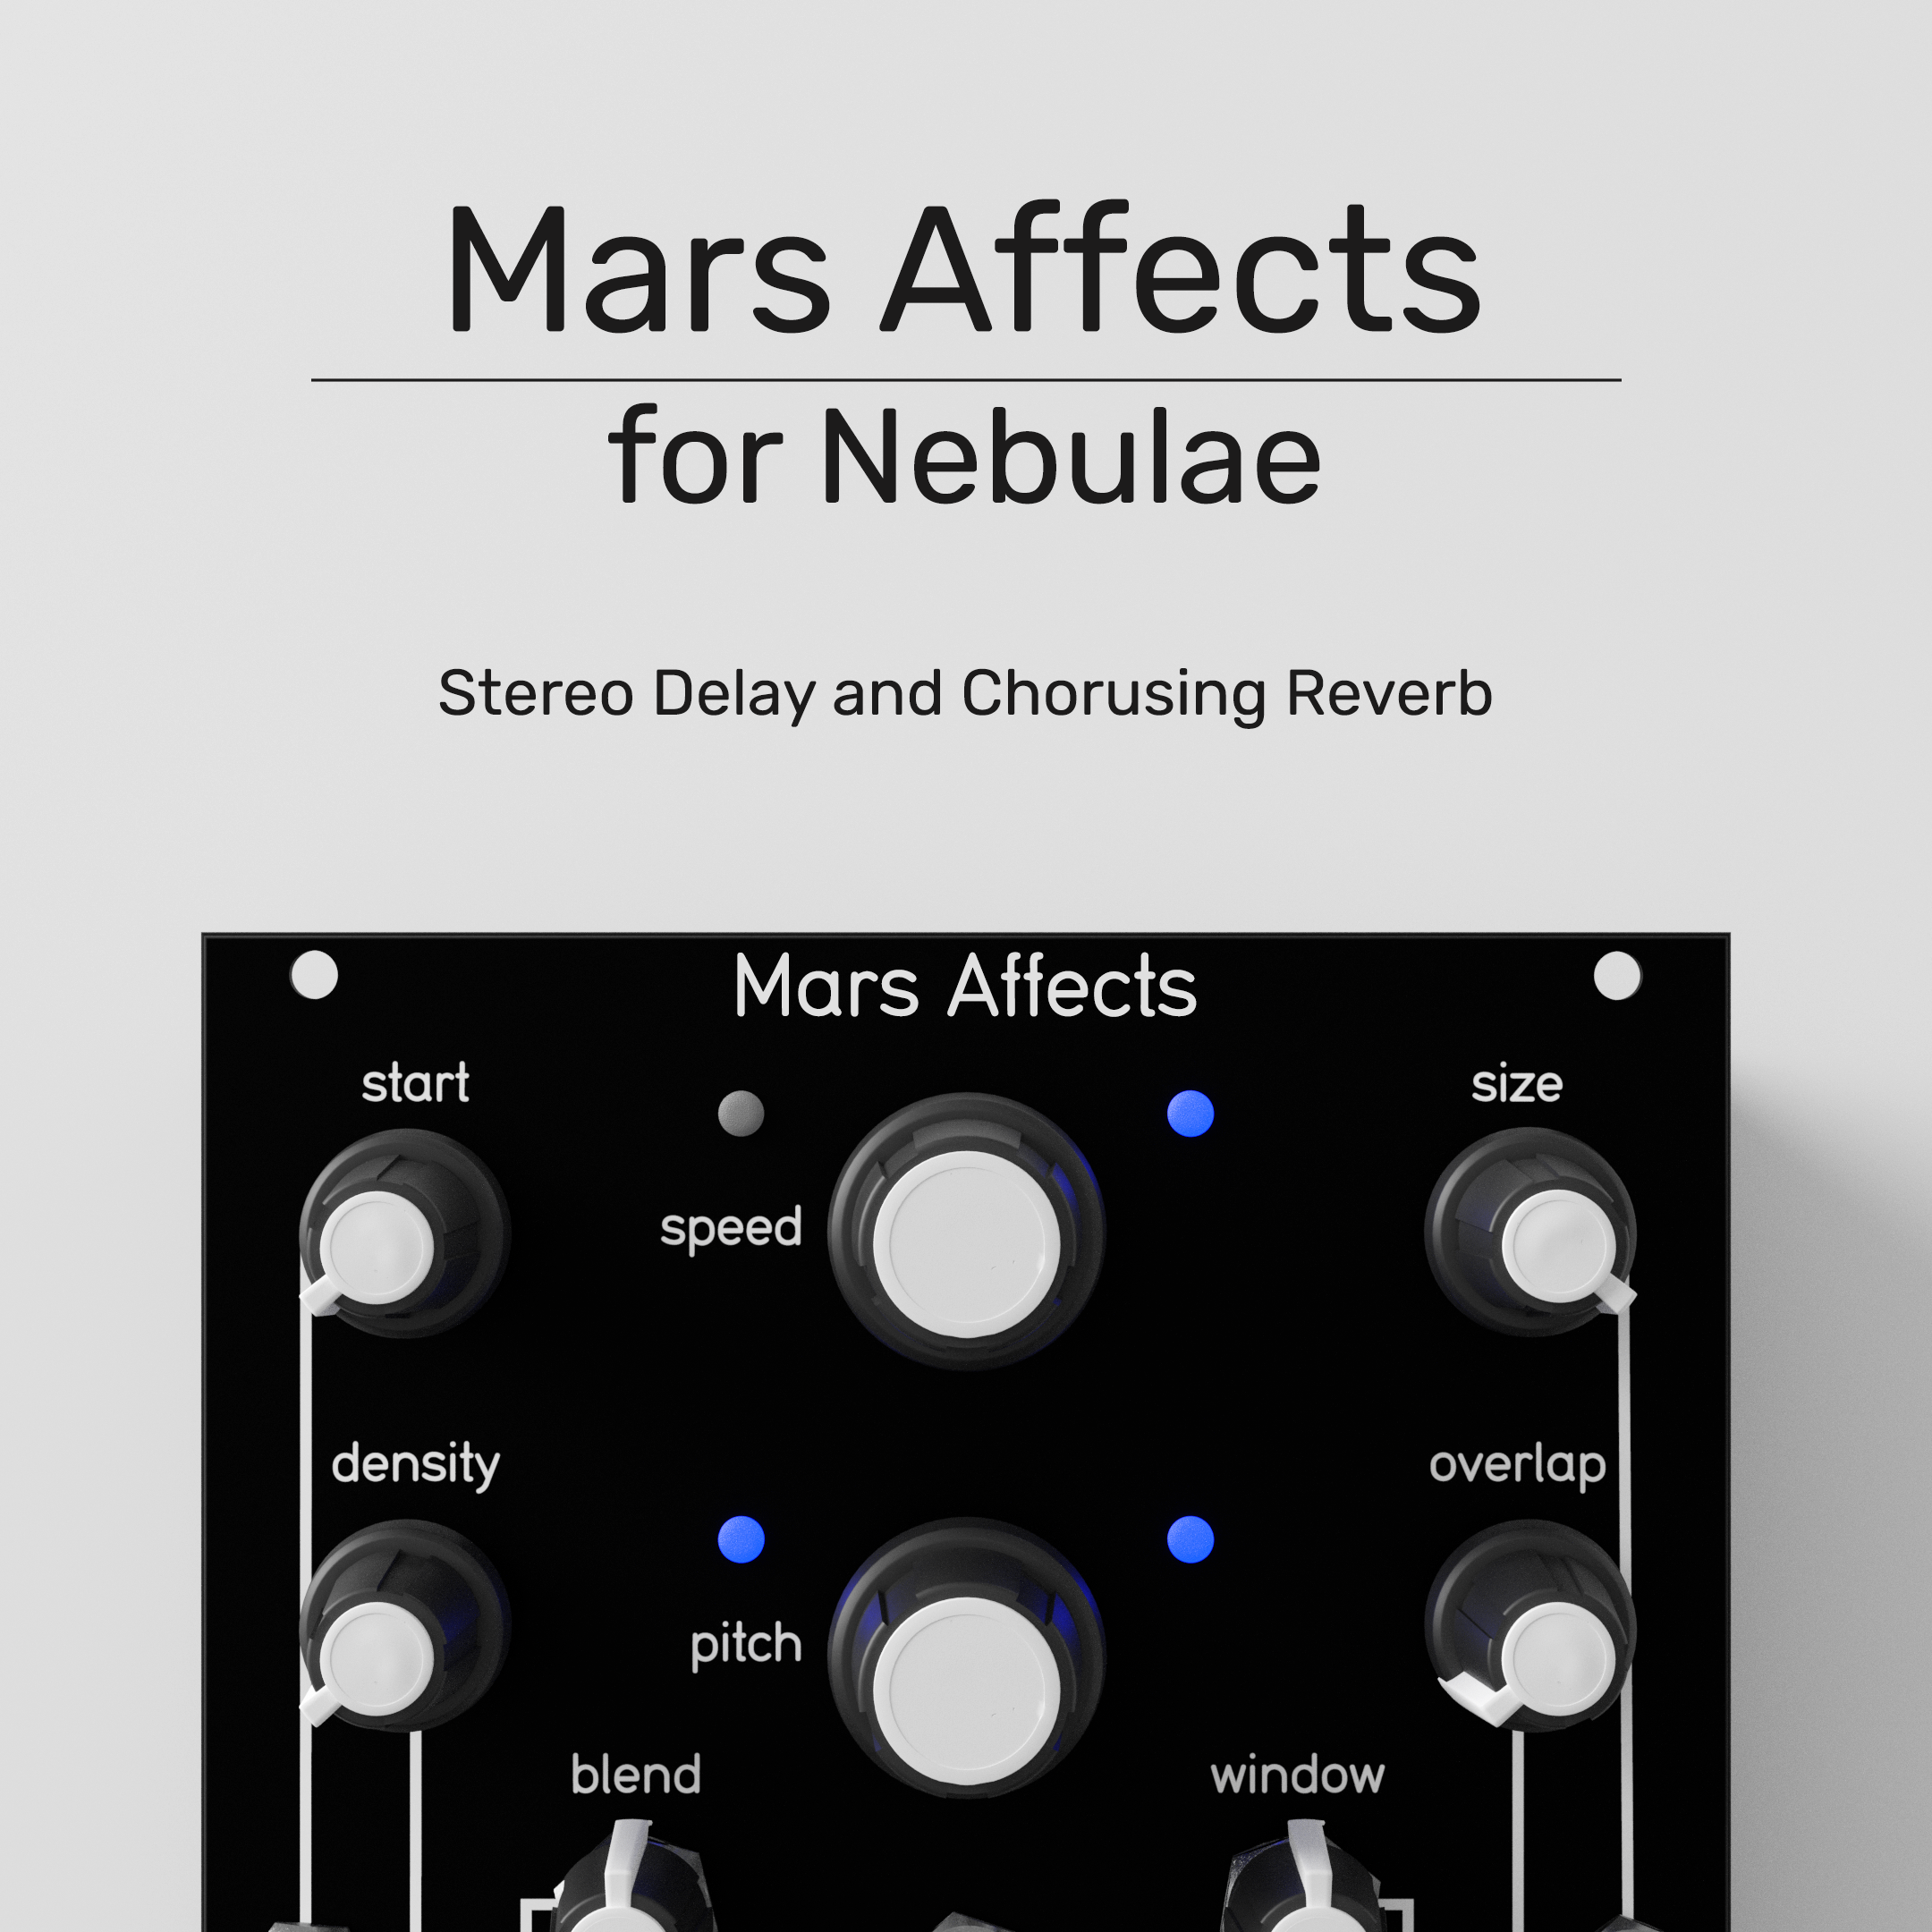
Created by Ian Hoogeboom. Mars Affects is a stereo delay and chorus-like reverb that works as a perfect end of chain effect for your patch.

Created by Christopher Konopka. Two FM instruments that morph into a single instrument by interpolating between the amplitude and frequency of each FM instrument.
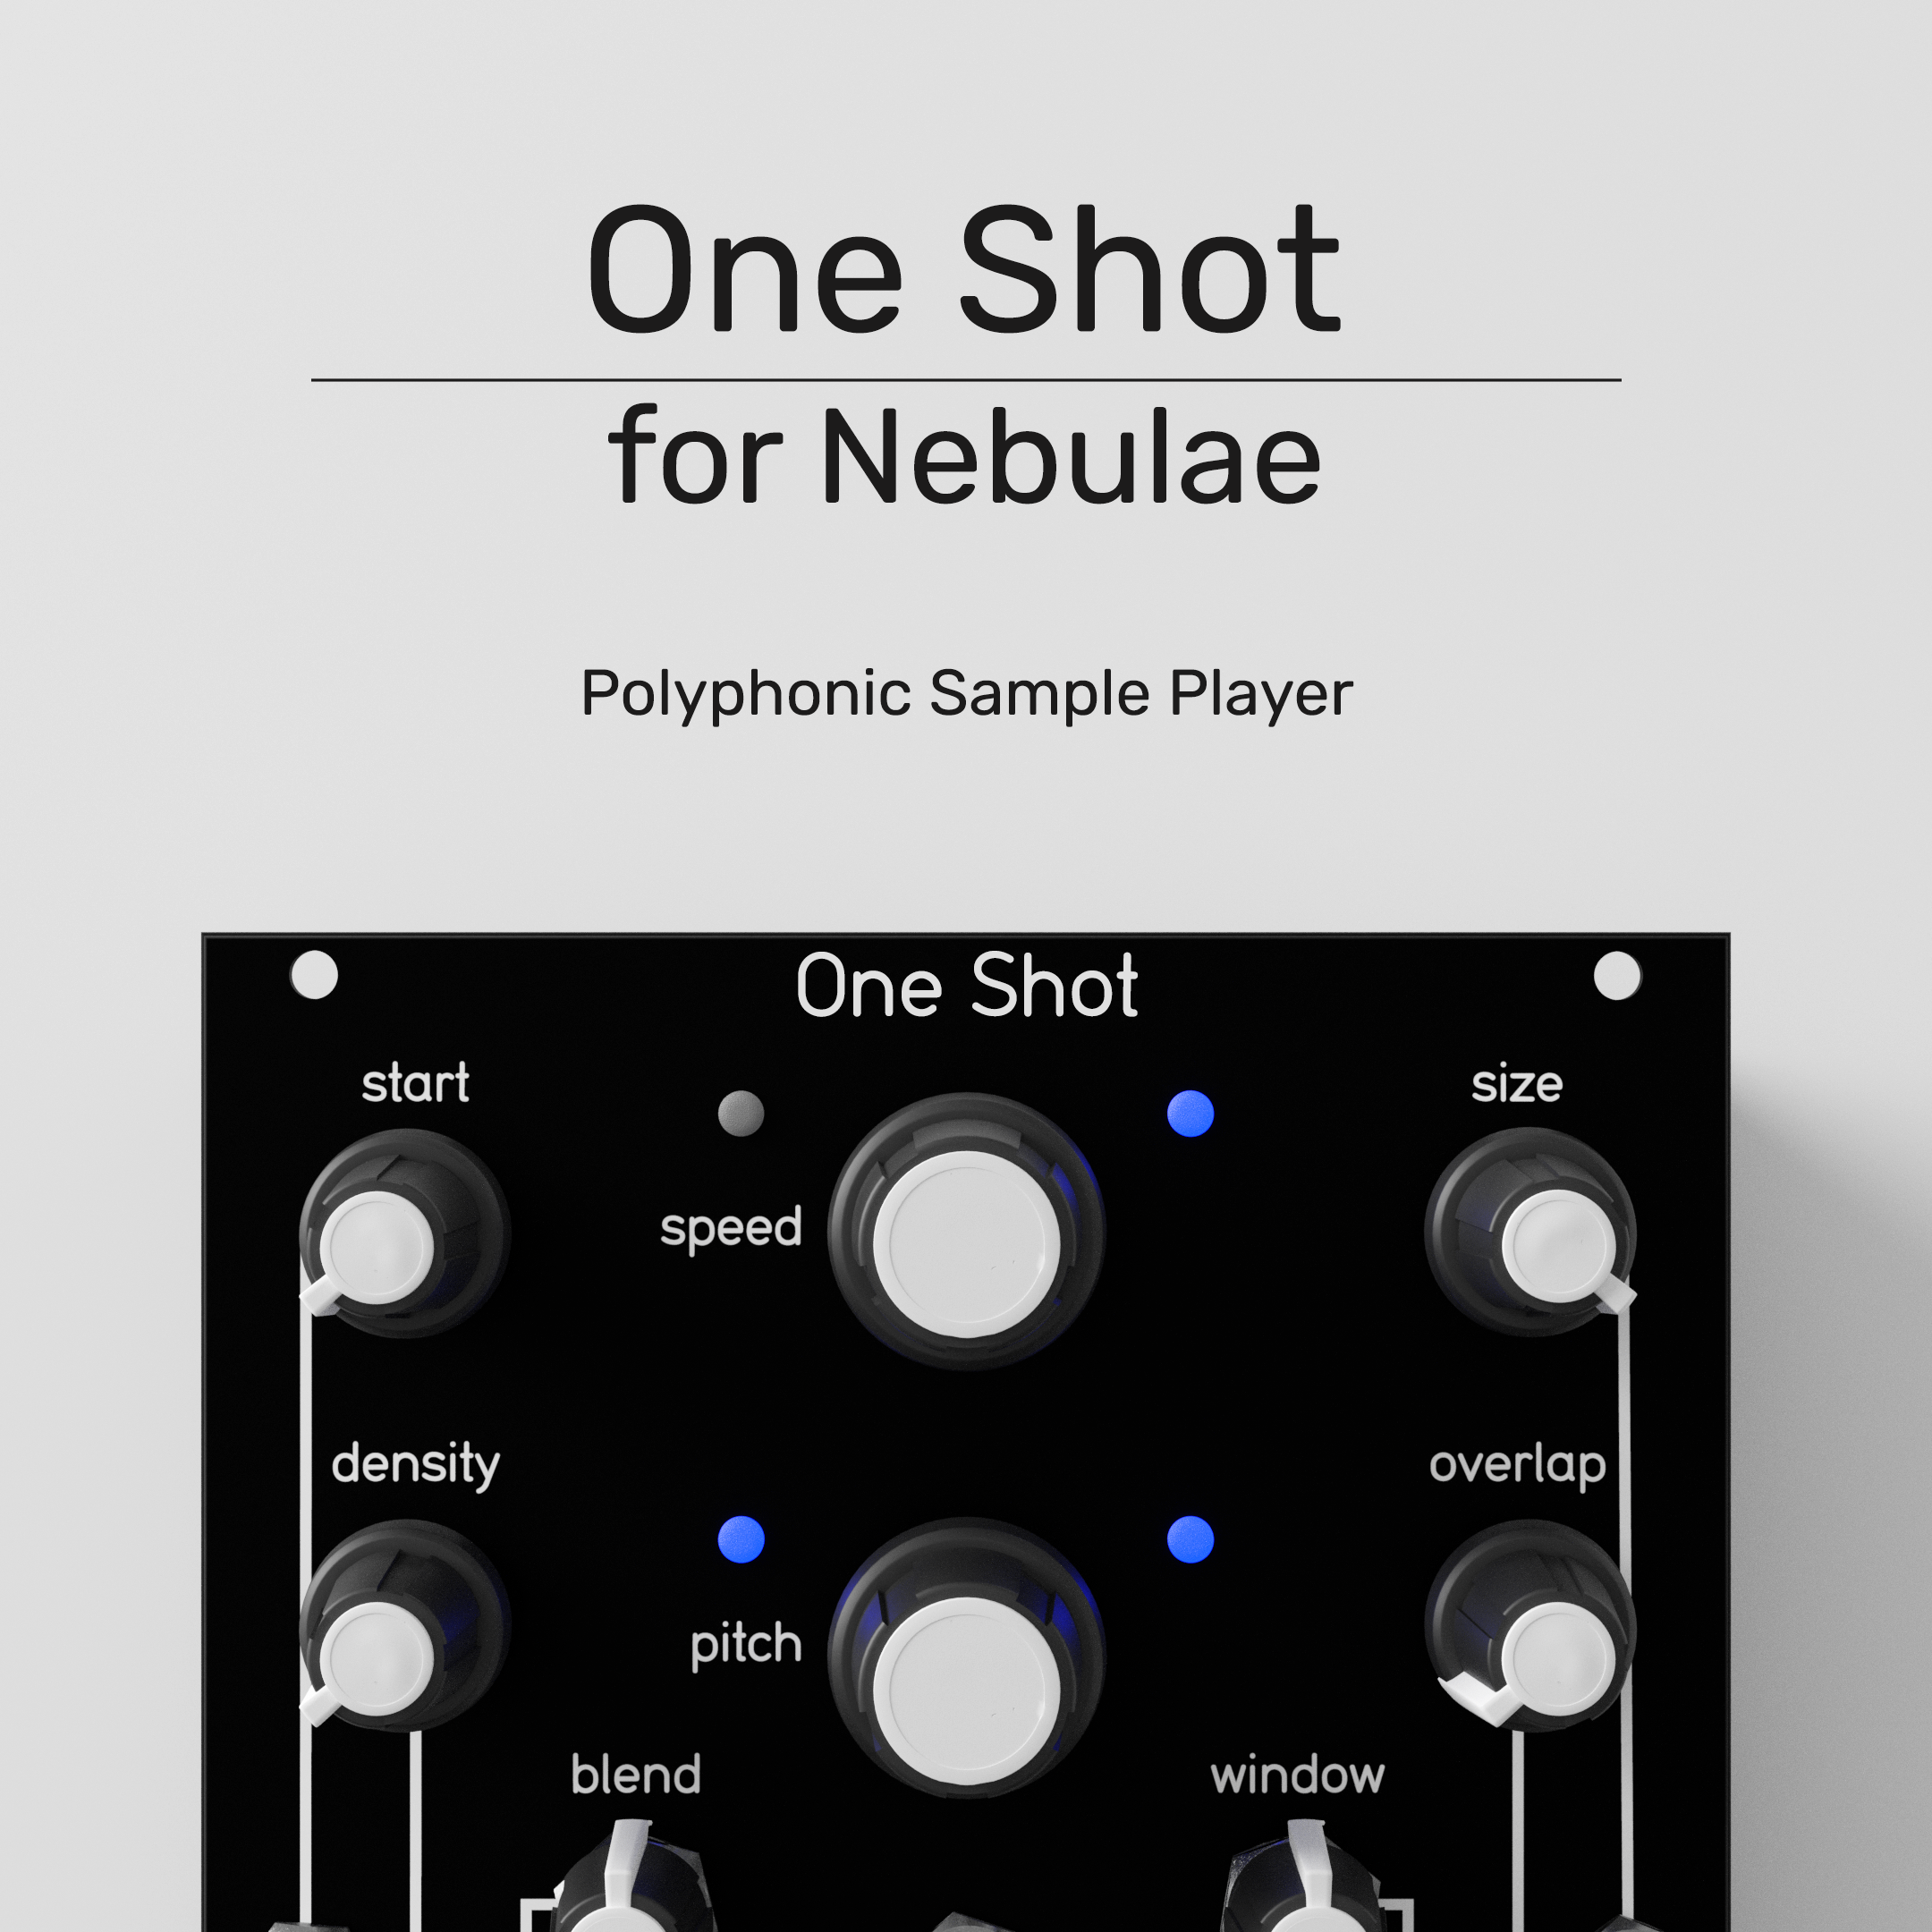
Created by Stephen Hensley. This instrument allows simultaneous playback of four samples at a time. Each sample has its own pitch control and trigger input.

Download The Firmware
FDN Verb is a Feedback Delay Network reverb algorithm for the Aurora platform. Think of it as your bread and butter end of chain reverb, with a few tricks up its sleeve. Alongside incredibly present room reverbs, and wide lush halls, FDN Verb gives you control over highpass and lowpass filtering of the reverb, pitch modulation, and a separate input level knob from Mix, all for dialing in the perfect reverb to complement your sound.
How to install FDN Verb on your Aurora:
Download the above .bin file onto your computer.
Insert the USB Drive you are using with Aurora into your computer.
Place the .bin file onto the USB drive. To ensure that you upload the correct firmware, make sure that it is the only .bin file present on your drive.
Safely eject the USB drive from your computer, and reinsert it into your Aurora.
Power cycle Aurora. Aurora will now update to the FDN Verb Firmware. The update will be complete once the LEDs shine purple and gold.
Download The Quickstart Guide
Get The PCB Overlay